|
|
Post by Kristin on Sept 15, 2009 20:00:33 GMT -5
Now that the Chipboard Tutorial is up I want to challenge you do a project using Chipboard. But the Chipboard must be altered, no pre-printed. Many of us have pre-printed chipboard but it's super easy to alter them exactly the same way you alter naked chipboard. Your project can be anything as long as it has the altered chipboard. Have fun ladies I can't wait to see what you come up with. Oh I'll be leaving for a trip on the 1st of October so all entries must be in by Monday, October 5th. I'll pick a lucky lady for the prize below on Wensday, October 7th. 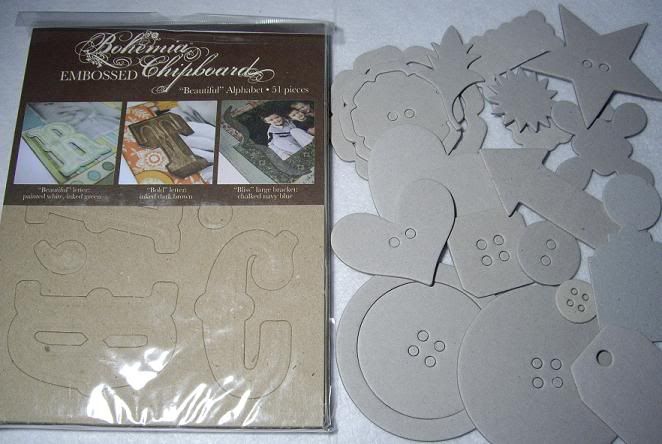 Entries so Far: Theresa's sweet LO:  Rissa's totally cute chipboard album: ![]() i55.photobucket.com/albums/g150/raynman1979/pics%20for%20groups/HPIM7538.jpg[/IMG] i55.photobucket.com/albums/g150/raynman1979/pics%20for%20groups/HPIM7538.jpg[/IMG]Wanna see more of Rissa album? Check it out here: jujubeessbc.proboards.com/index.cgi?board=tutstt&action=display&thread=136 |
|
|
|
Post by Kristin on Sept 15, 2009 19:22:41 GMT -5
Chipboard is one of my favorite embellishments to use on projects. It has a wonderful 3-d effect and when it's "naked" (no stop thinking like that!! ) it's easy to alter to get that special look you're after. Here's the box I completed with the K as an embelishment. I had it as video tutorial but the video was too long so If I find a way to edit I'll post it. This box was actually the Box for Fancy Pants Chipboard. You can see the type of chipboard since I used it to embelish  . 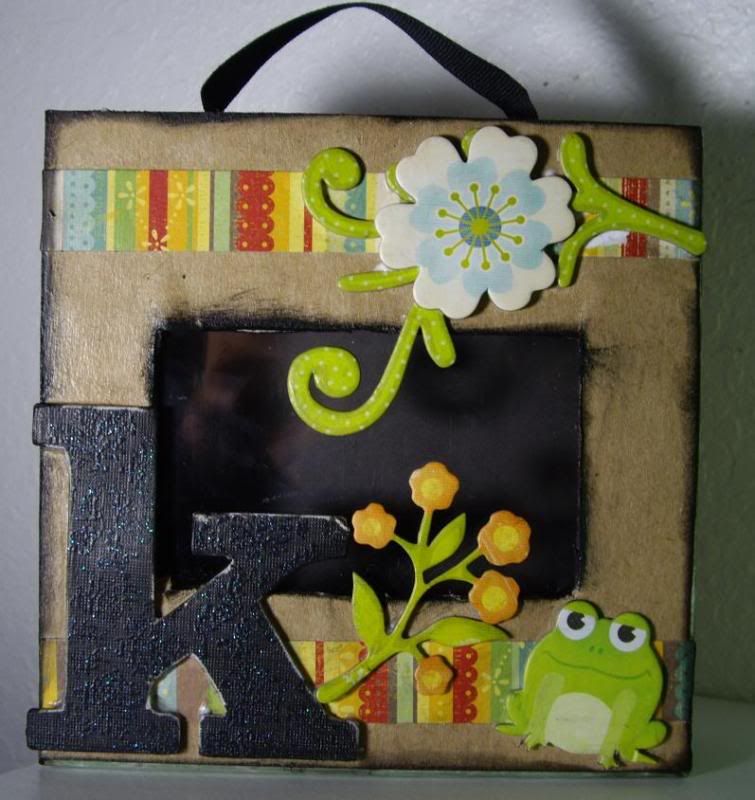 More tips: Modge Podge When using modge podge always use a thin coat. You can apply multiple coats. If you use too much modge podge you might end up with bubbles. The bubbles aren't bad but if you're picky they can be horrible! Lol. Bubble often dry out and flatten. Make sure your project is completely dry before applying another coat. Again if use modge podge as an adhesive always make sure the projects is completely dry before starting the clear coat. Papering Chipboard You have two options for the adhesives, use double side tape or a glue like modge podge or elmers. Do not use a tape runner as it'll bring up portions of the chipboard. Use an exacto knife to cute off excess paper. To give a better look to the rough edges of the cut paper use a file, piece of sand paper or sanding block. Holding the piece with the paper facing up take your sanding tool and sand down towards the bottom of the piece. For smaller space use peices of sanding paper or small precion files. You can ink the edges of the chipboard pieces or you can leave the naked. More ways to cover your Chipboard: (Video was giving me issues hopefully it works for you.)More Ideas: Covered Chipboard in News Print: (Letter Q & Pinwheel) 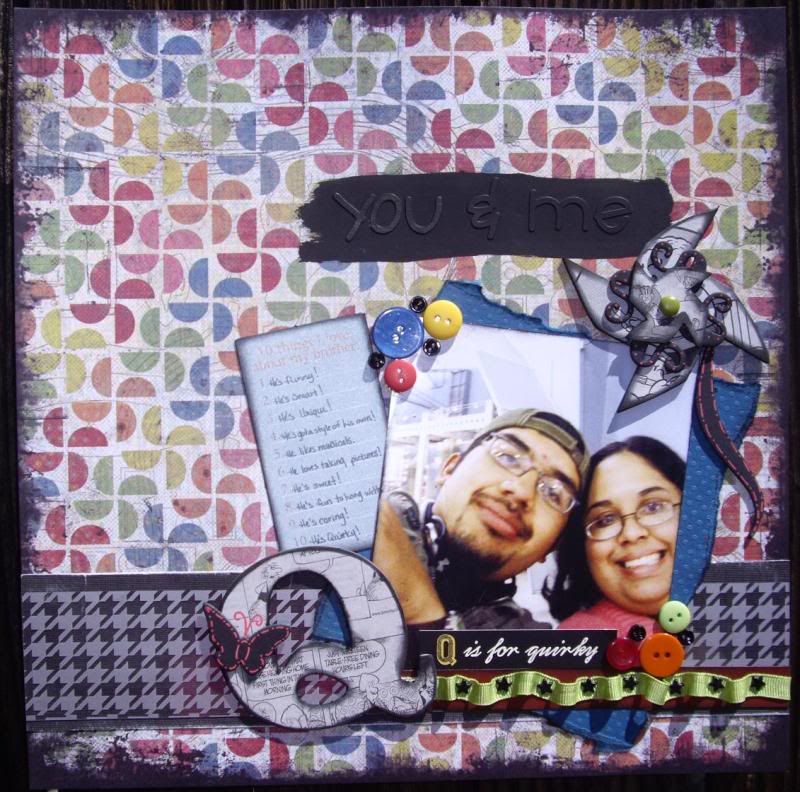 Inked & Embossed Chipboard: (Letter G) 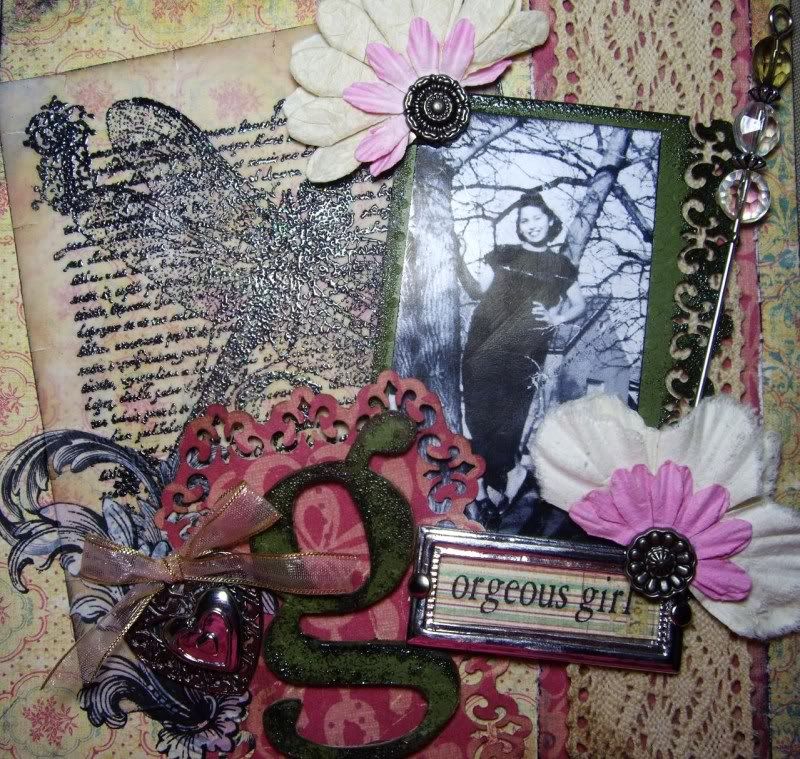 |
|
|
|
Post by Kristin on Sept 15, 2009 10:10:13 GMT -5
This is awesome I'll see if I can get this done today.
|
|
|
|
Post by Kristin on Sept 11, 2009 23:30:19 GMT -5
wow that's beautiful! I love it. I'll have to save it.
|
|