Post by amy on Jan 3, 2010 8:15:33 GMT -5
In this tutorial we are going to be recreating the Necklace I made for the JuJu Bee's Very Merry Blog Hop and Crop. It's really super easy to make....but there are a lot of pictures!!
** This particular necklace is named the 'JuJu'! hehe
I based it around the JuJu Bee colors! So much fun!!
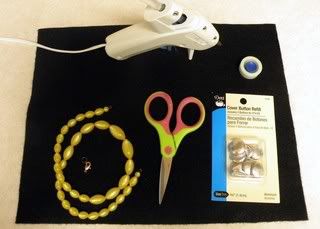
Supplies Needed:
*Dritz Button cover kit (size 3/4 #14)
*Dritz Cover Button refill (size 3/4 #14) You will need a total of 10 buttons.
*Scissors
*Felt (Stiff felt works best)
*Hot Glue Gun
*Bead Strand/chain/something to use for necklace!
*Hook & Eye of choice for closure
*Needle & Thread (Not pictured)
On the back of your package you will see a circle (I have highlighted it in the picture) You need to cut that out. It is your pattern.
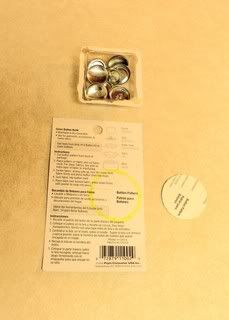
Use this pattern and cut out your desired chosen paper for your necklace. You will need 10 circles. These can be different, the same, just have fun with it!
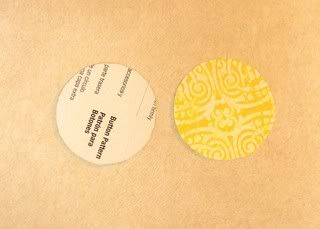
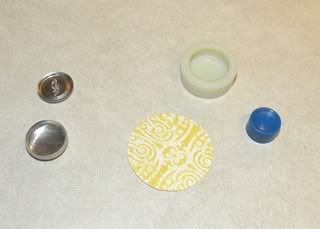
Now these are the next pieces you will need. A top & bottom button piece, your paper circle, your rubber piece, and the blue piece (I know...I am SO technical with my terms!)
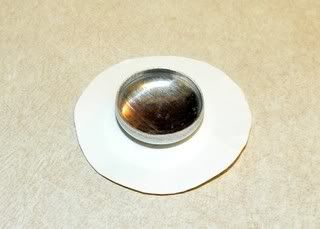
Take your circle paper and turn it over to the negative side and lay your button on the top center. I added a double sided photo square to help keep it in place. This helped out a lot.
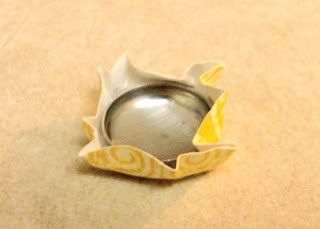
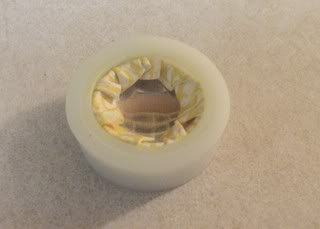
Next you want to scrunch the edges of the papers up over the button.
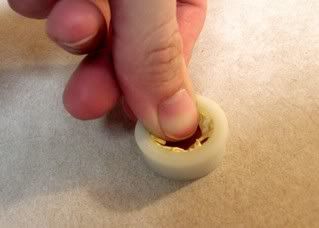
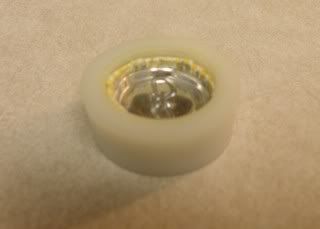
Using your thumb gently push the button into the rubber piece. Make sure to be gentle because this is actually made to be done with fabrics and paper can tear easier.
This is what it looks like when it's securely down into the rubber piece.
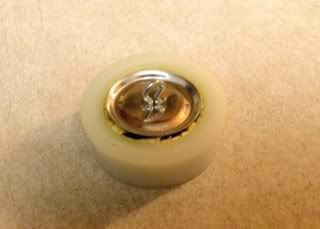
Next place the buttons bottom piece onto the open part of the rubber.
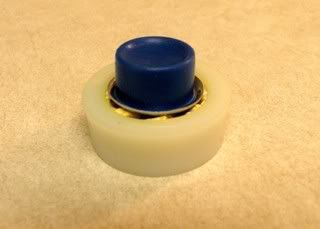
Place the blue piece on top of that.
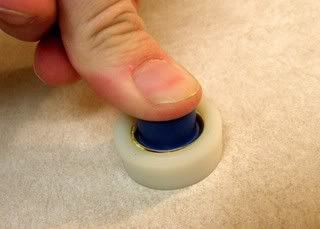
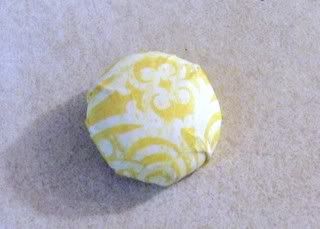
Now using your thumb push down (really hard) onto the blue piece until you feel it snap into place .
Here you see it has been snapped into place and is ready to come out!! All you need to do is bend the rubber back and the button will just pop right out!
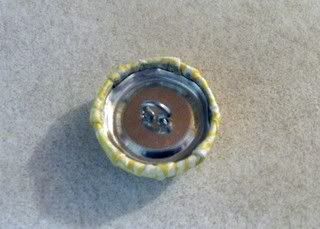
And here is out and ready to be used!
And here is a close up of the back side of the button.
Now continue that process until you get all 10 buttons covered.
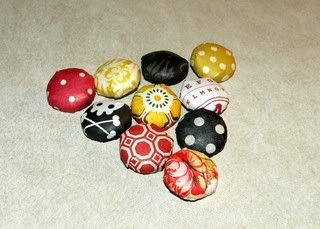
Cut a piece of felt just a bit smaller then the size of your triangle. Mine measures 2 3/4 x 2 3/4 x 2 3/4. If you are using the 3/4 size buttons then this size felt triangle should work for you as well.
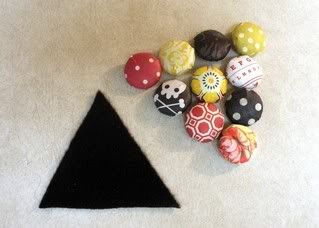
Next you need to lay your buttons on top of your felt to figure out placement. Unless you are an eyeballer like I usually am!!
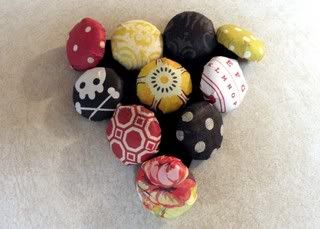
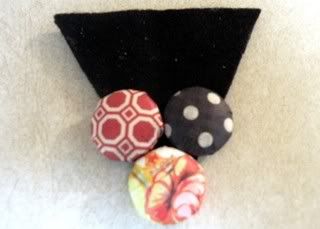
Now we start to Hot glue our buttons down. I always start at the bottom, it's just easier to make things align better that way. (for me)
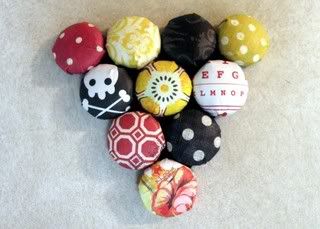
Here is what it should look like after it is all glued down.
Next we are going to work on adding the actual necklace part of it. I got ahead of myself (happens a lot with 3 kid helpers) and forgot to take a few pictures....
I was making this necklace for my daughter so to determine the length I just used a necklace that she already owned that we liked the length of. I used embroidery floss and beaded the beads onto one side and the reason I used embroidery floss was so that I could do this:
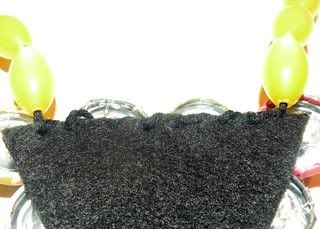
I thought it would add stability to the necklace to stitch the necklace part directly onto the felt. And then I jut went on from there and kept adding beads to the other side....very easy!
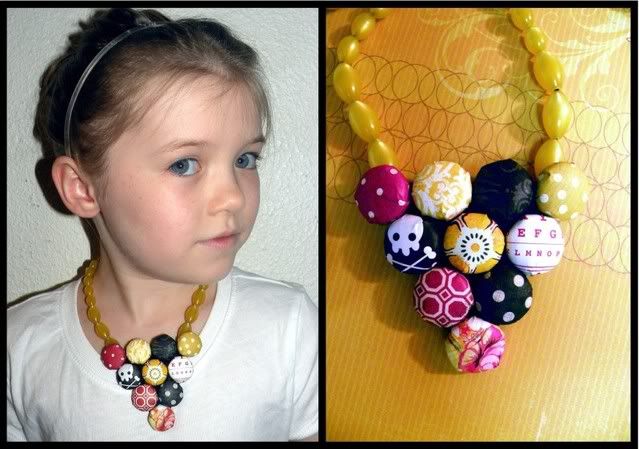
And here is what it looks like when I completed it all....

And we can't forget our little model
I do have a few little tips/side notes to add....
*If you don't want to hot glue the buttons onto the felt then it's just as easy to sew them onto it as well.
*On the first necklace I made for the blog hop I added Glossy accents to the buttons - it looks so pretty! Definatley something to try!
*Try mixing fabrics, ribbons, and papers into your necklaces...the different textures look great together.
** This particular necklace is named the 'JuJu'! hehe
I based it around the JuJu Bee colors! So much fun!!
Supplies Needed:
*Dritz Button cover kit (size 3/4 #14)
*Dritz Cover Button refill (size 3/4 #14) You will need a total of 10 buttons.
*Scissors
*Felt (Stiff felt works best)
*Hot Glue Gun
*Bead Strand/chain/something to use for necklace!
*Hook & Eye of choice for closure
*Needle & Thread (Not pictured)
On the back of your package you will see a circle (I have highlighted it in the picture) You need to cut that out. It is your pattern.
Use this pattern and cut out your desired chosen paper for your necklace. You will need 10 circles. These can be different, the same, just have fun with it!
Now these are the next pieces you will need. A top & bottom button piece, your paper circle, your rubber piece, and the blue piece (I know...I am SO technical with my terms!)
Take your circle paper and turn it over to the negative side and lay your button on the top center. I added a double sided photo square to help keep it in place. This helped out a lot.
Next you want to scrunch the edges of the papers up over the button.
Using your thumb gently push the button into the rubber piece. Make sure to be gentle because this is actually made to be done with fabrics and paper can tear easier.
This is what it looks like when it's securely down into the rubber piece.
Next place the buttons bottom piece onto the open part of the rubber.
Place the blue piece on top of that.
Now using your thumb push down (really hard) onto the blue piece until you feel it snap into place .
Here you see it has been snapped into place and is ready to come out!! All you need to do is bend the rubber back and the button will just pop right out!
And here is out and ready to be used!
And here is a close up of the back side of the button.
Now continue that process until you get all 10 buttons covered.
Cut a piece of felt just a bit smaller then the size of your triangle. Mine measures 2 3/4 x 2 3/4 x 2 3/4. If you are using the 3/4 size buttons then this size felt triangle should work for you as well.
Next you need to lay your buttons on top of your felt to figure out placement. Unless you are an eyeballer like I usually am!!
Now we start to Hot glue our buttons down. I always start at the bottom, it's just easier to make things align better that way. (for me)
Here is what it should look like after it is all glued down.
Next we are going to work on adding the actual necklace part of it. I got ahead of myself (happens a lot with 3 kid helpers) and forgot to take a few pictures....
I was making this necklace for my daughter so to determine the length I just used a necklace that she already owned that we liked the length of. I used embroidery floss and beaded the beads onto one side and the reason I used embroidery floss was so that I could do this:
I thought it would add stability to the necklace to stitch the necklace part directly onto the felt. And then I jut went on from there and kept adding beads to the other side....very easy!
And here is what it looks like when I completed it all....
And we can't forget our little model
I do have a few little tips/side notes to add....
*If you don't want to hot glue the buttons onto the felt then it's just as easy to sew them onto it as well.
*On the first necklace I made for the blog hop I added Glossy accents to the buttons - it looks so pretty! Definatley something to try!
*Try mixing fabrics, ribbons, and papers into your necklaces...the different textures look great together.