Post by forumstaff on Sept 9, 2009 22:30:08 GMT -5
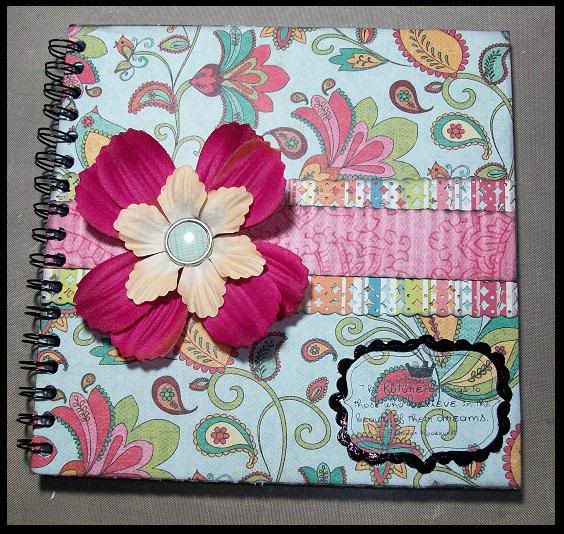
Since this months challenge is to alter a notebook, I thought I'd show you how I like to cover spiral notebooks.
All of this is step by step in pictures. If you have questions let me know.
Click on picture to make larger or go to my blog for larger pictures: craftasticlife.blogspot.com/2009 ... -book.html
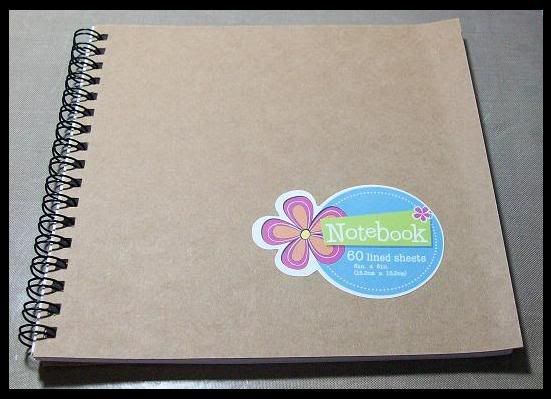
First pick your spiral notebook.
This is a Dollar Tree find and measures about 6x6.
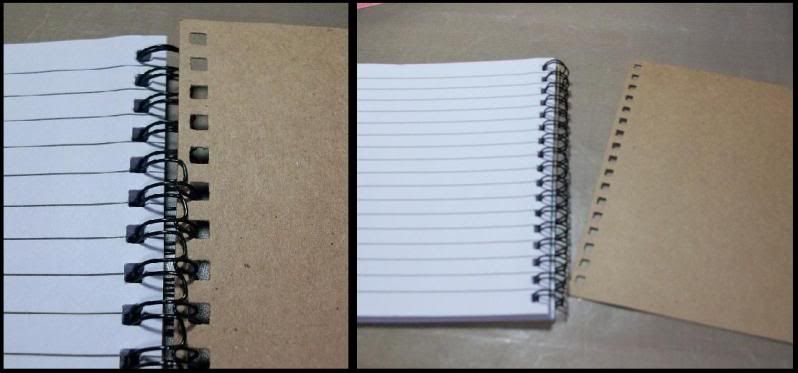
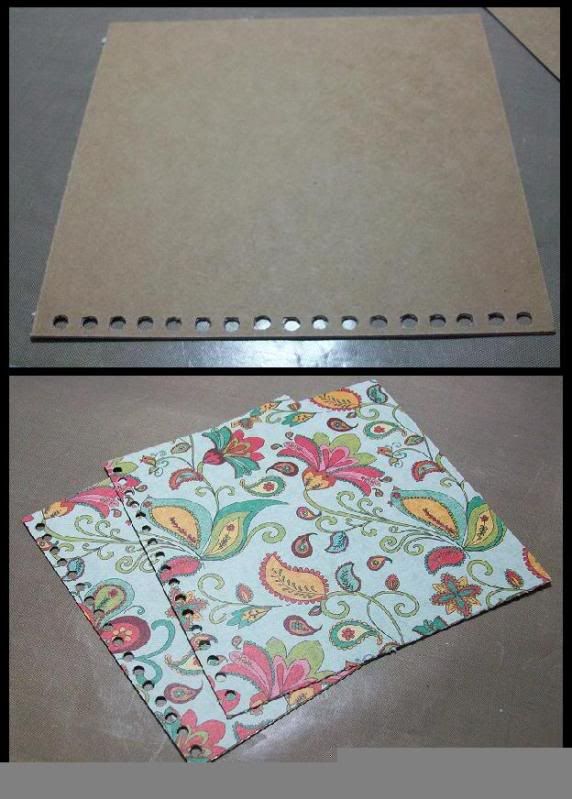
Remove the front and back cover from the spiral.
Apply Adhesive and attach your choice of paper.
I cut mine alittle larger so I didn't have to line it perfectly.
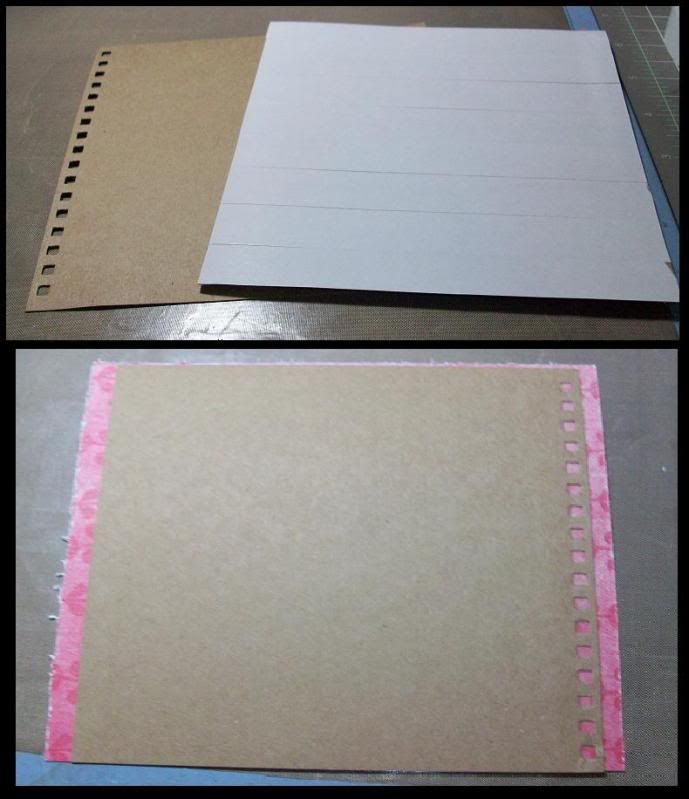
I cut around my cover to remove the extra paper.

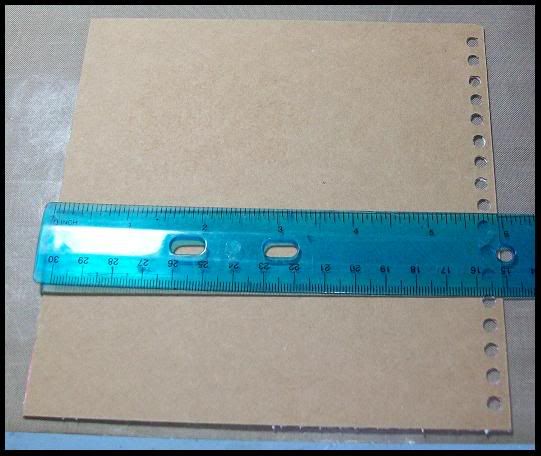
Use the back of the cover as a guide to punch the wholes for the spiral.
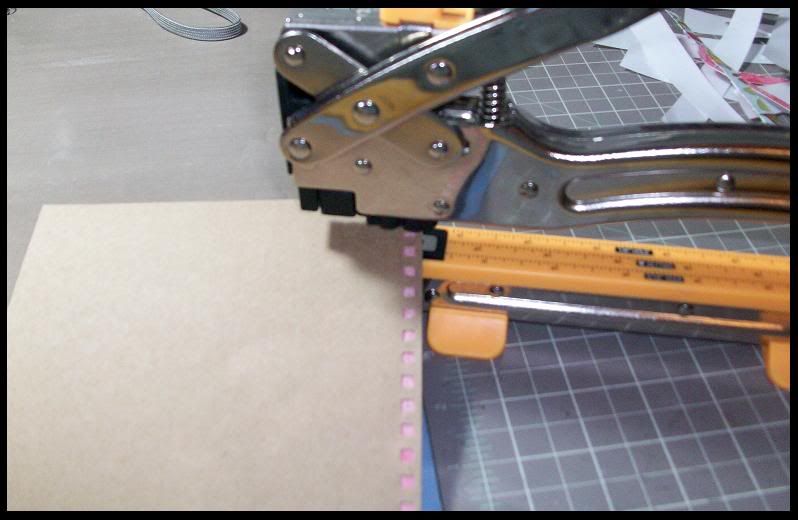
You'll do your back cover the same way.
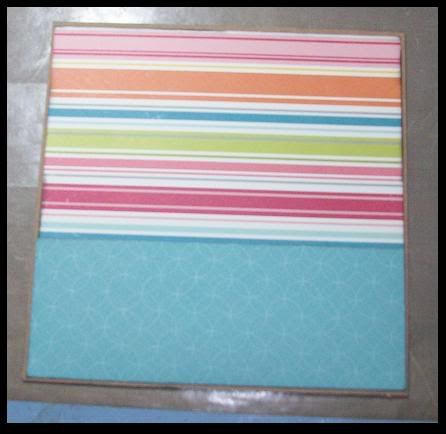
Measure your cover for the inside paper.
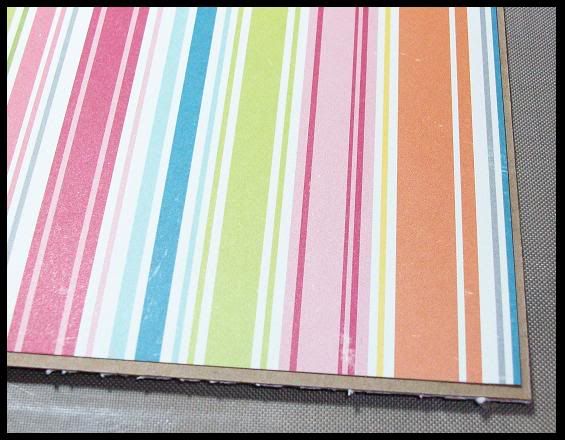
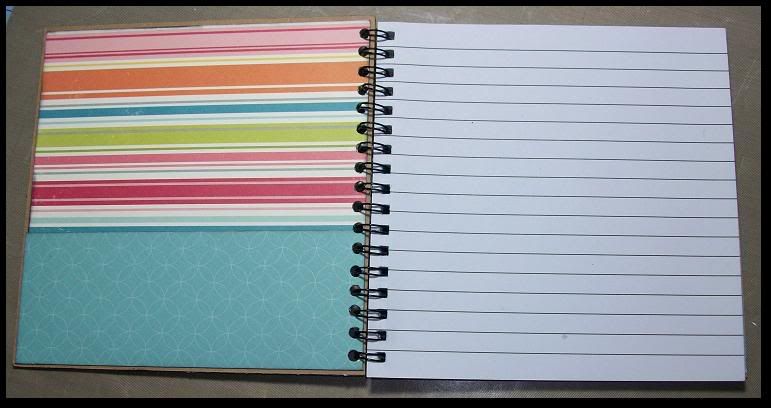
You can so this part with or with out an inside pocket.
Without the pocket you can cover the inside the same way you did the outside.
With the pocket you will want to cute the inside paper exactly to fit the cover or if you're like me and can never get things to line up you can cut it a bit smaller.
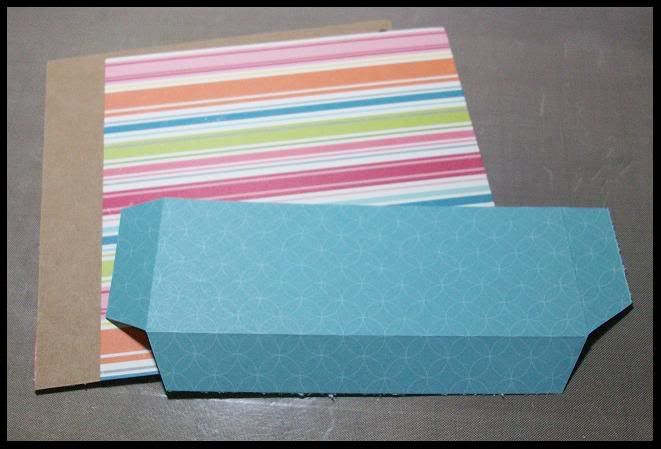
For the pocket I cut a strip at three inches high.
(Sorry no pics for this part!)
I measured a half inch from the side and scored the paper.
I did the same thing for the bottom.
On the 3rd side I matched the pocket to the paper and
folded the strip where the inside paper ended.
I cut the bottom corners to make the folding easier.
The pocket looks like a diaper this way.
I then glued the flaps of the pocket to the back of the inside paper.
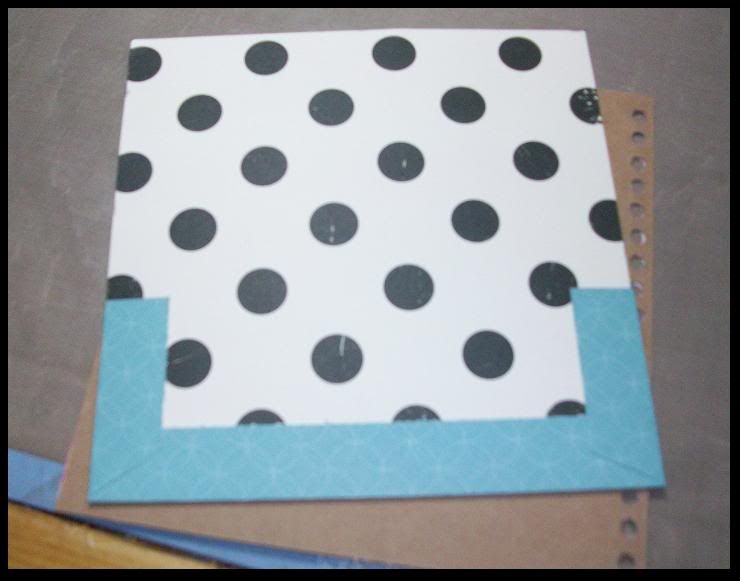
I then glue the paper to the inside of the cover.
Make sure attach your inside paper with the pockets in the correct directions.
Other wise one will be upside down.
Now punch the wholes the same way you did the outside covers.
Both front and back covers are complete.
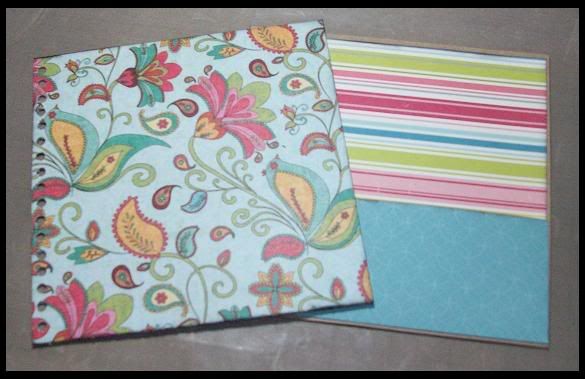
From here you can decorate your front cover further.
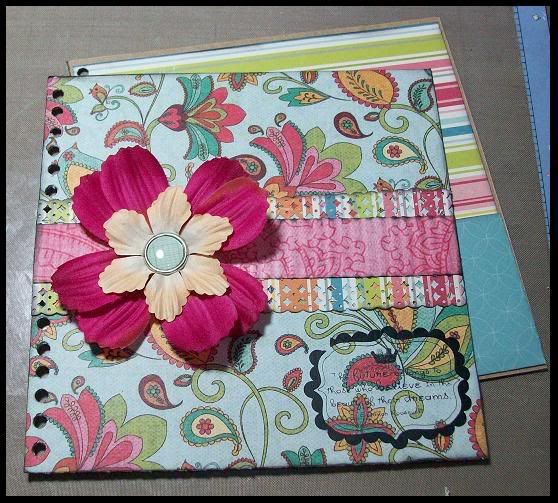
Reattach to spiral and TaDa! Cute new notebook!
All of this is step by step in pictures. If you have questions let me know.
Click on picture to make larger or go to my blog for larger pictures: craftasticlife.blogspot.com/2009 ... -book.html
First pick your spiral notebook.
This is a Dollar Tree find and measures about 6x6.
Remove the front and back cover from the spiral.
Apply Adhesive and attach your choice of paper.
I cut mine alittle larger so I didn't have to line it perfectly.
I cut around my cover to remove the extra paper.
Use the back of the cover as a guide to punch the wholes for the spiral.
You'll do your back cover the same way.
Measure your cover for the inside paper.
You can so this part with or with out an inside pocket.
Without the pocket you can cover the inside the same way you did the outside.
With the pocket you will want to cute the inside paper exactly to fit the cover or if you're like me and can never get things to line up you can cut it a bit smaller.
For the pocket I cut a strip at three inches high.
(Sorry no pics for this part!)
I measured a half inch from the side and scored the paper.
I did the same thing for the bottom.
On the 3rd side I matched the pocket to the paper and
folded the strip where the inside paper ended.
I cut the bottom corners to make the folding easier.
The pocket looks like a diaper this way.
I then glued the flaps of the pocket to the back of the inside paper.
I then glue the paper to the inside of the cover.
Make sure attach your inside paper with the pockets in the correct directions.
Other wise one will be upside down.
Now punch the wholes the same way you did the outside covers.
Both front and back covers are complete.
From here you can decorate your front cover further.
Reattach to spiral and TaDa! Cute new notebook!