Post by Admin on Sept 8, 2009 14:29:04 GMT -5
You know those cute little lolli pop flowers? Well we're going to take it a little further with hearts.
*If you haven't seen how to do the lolli pop flowers, let me know I have the tutorial for that ready too.
Tools need to make paper Flowers:
• Scissors or Cricut (I used the Plantin School Book Cartridge)
• White Paint
• Paint Brush
• Brads
• Spray Bottle or Glitter Water Spray (Optional)
• Hole Punch (I used my Big Bite Crop-a-dile, the smaller hole)
• Your choice of Card Stock or heavy weight pattern paper
• Distresser (Optional) (I don’t use it)
Step One - Pick your card stock. You can pick 1 paper or a few.
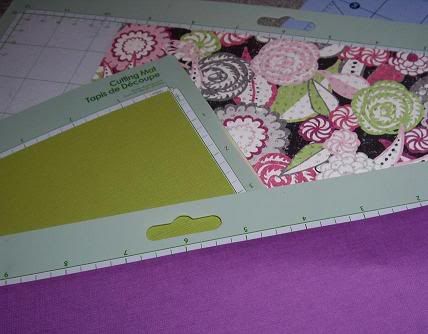
Step Two – Cut out your hearts
If you hand cut them you don’t have to follow sizes just make them one bigger than the last.
Made with hearts.
1st layer 3 small hearts
2nd layer 4 bigger hearts
3rd layer 5 bigger hearts
4th layer 6 bigger hearts
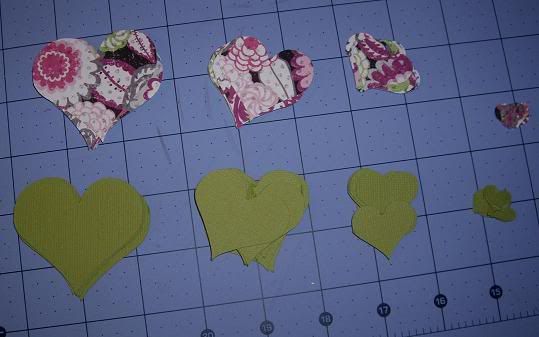
*You only need one set of each size to make a flower but I did 2 sets of each size to make a second flower.
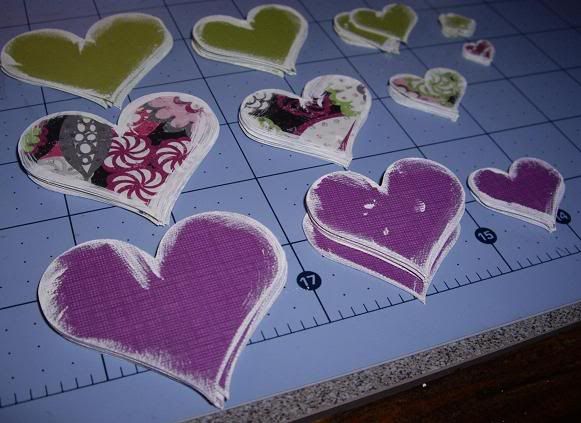
Step Three – Paint the edges of the hearts (You can distress the edges first if you’d like.)
You can either let them dry or get a little messy!
Step Four - Punch a hole in the pointed end of the hearts.
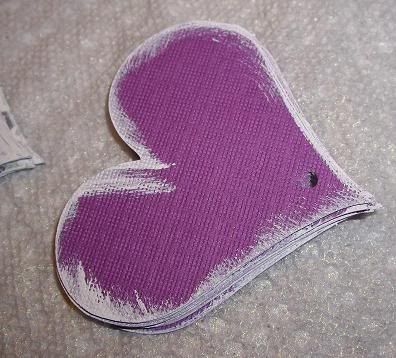
Step Five – Pick your brad, I chose silver just because.
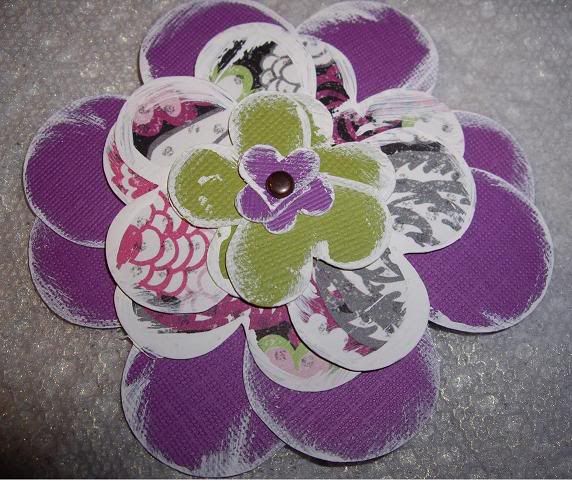
Step Six – Stack the hearts from smallest on top to largest on bottom. Put Brad through holes and secure. Because I choose to do three sheets of hearts I was able to do 1 of each color in a solid flower and 3 that were all mixed up.
1st layer 3 small hearts
2nd layer 4 bigger hearts
3rd layer 5 bigger hearts
4th layer 6 bigger hearts
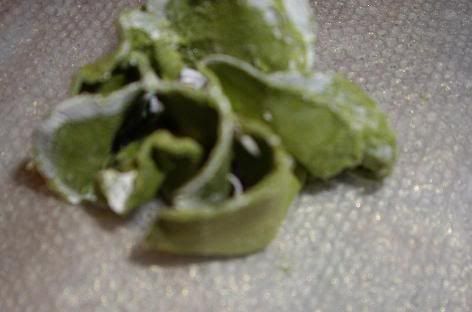
Step Seven – Lay out your flowers over paper towels and pray with water to moisten.

Step Eight – Start to mold your flowers with lefts and cripples to add texture.
You might have to moisten them more to mold the lower layers. Flatten out for better use on Layouts and card or leave as a Bulb.
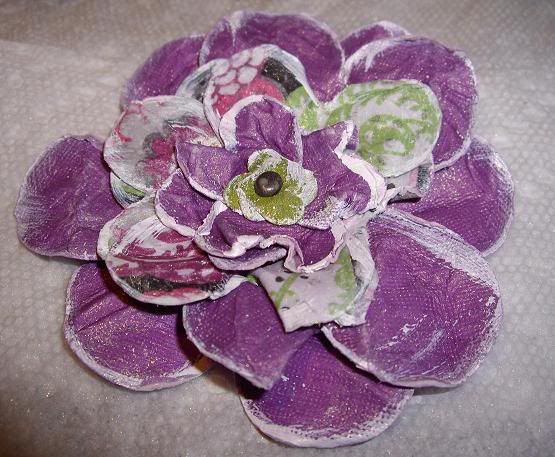
Step Nine – Let dry overnight before using is best.
*Sorry about the blurry pictures.
*If you haven't seen how to do the lolli pop flowers, let me know I have the tutorial for that ready too.
Tools need to make paper Flowers:
• Scissors or Cricut (I used the Plantin School Book Cartridge)
• White Paint
• Paint Brush
• Brads
• Spray Bottle or Glitter Water Spray (Optional)
• Hole Punch (I used my Big Bite Crop-a-dile, the smaller hole)
• Your choice of Card Stock or heavy weight pattern paper
• Distresser (Optional) (I don’t use it)
Step One - Pick your card stock. You can pick 1 paper or a few.
Step Two – Cut out your hearts
If you hand cut them you don’t have to follow sizes just make them one bigger than the last.
Made with hearts.
1st layer 3 small hearts
2nd layer 4 bigger hearts
3rd layer 5 bigger hearts
4th layer 6 bigger hearts
*You only need one set of each size to make a flower but I did 2 sets of each size to make a second flower.
Step Three – Paint the edges of the hearts (You can distress the edges first if you’d like.)
You can either let them dry or get a little messy!
Step Four - Punch a hole in the pointed end of the hearts.
Step Five – Pick your brad, I chose silver just because.
Step Six – Stack the hearts from smallest on top to largest on bottom. Put Brad through holes and secure. Because I choose to do three sheets of hearts I was able to do 1 of each color in a solid flower and 3 that were all mixed up.
1st layer 3 small hearts
2nd layer 4 bigger hearts
3rd layer 5 bigger hearts
4th layer 6 bigger hearts
Step Seven – Lay out your flowers over paper towels and pray with water to moisten.
Step Eight – Start to mold your flowers with lefts and cripples to add texture.
You might have to moisten them more to mold the lower layers. Flatten out for better use on Layouts and card or leave as a Bulb.
Step Nine – Let dry overnight before using is best.
*Sorry about the blurry pictures.